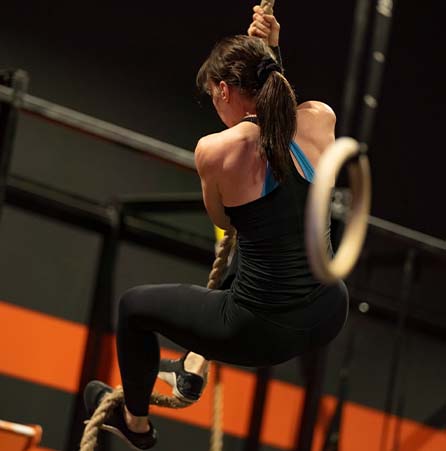
Getting pull-ups can seem to be an impossible task for many of you. I’m here to tell you that anyone can achieve them! With a structured program and some coaching guidance, you will be well on your way to developing Strict Pull-ups.
First Step
The first step is to build the requisite strength and movement pattern a pull-up requires. A lot of people think if they just grab a band and start pulling their chin up to the bar, they will develop strength in the end. This kind of approach will develop bad movement patterns and you will likely develop a strength curve that does not put enough emphasis on the initial pull, as this is where the band has the most amount of tension.
This program is aimed at beginner – intermediate strength levels, however I have come across many seemingly strong athletes who have little or no control over there back musculature that could really benefit from taking the time to reduce load and develop control and strength in the right areas to bust through plateaus.
How to start
To start off, you should consider including machine-based strength movements into your program. Why? Because you can incrementally adjust load which will allow you to make small progression week to week, and your movement pattern will remain high quality as you won’t be forced to lift something too heavy. You will also use time under tension and higher volume, as the overall load will be lighter, and athletes with this weakness will benefit from the higher volume without it affecting their nervous system.
Most people have trouble activating their lats, rhomboids, and lower trap musculature. So, for the first 4 weeks of strength building, we will select some specific exercises with the focus to maintain perfect activation through these muscles by performing low loads and more time under tension to strengthen weaker positions. If you were to overload too early, you would end up reinforcing bad movement patterns by overusing the chest, biceps, and upper traps. The key is patience and quality, until you can feel the muscles activating. When you have good activation and control, you can increase load accordingly. It is a good idea to have an experienced coach present to watch your movement so they can correct if necessary. If you don’t have a coach present, video yourself for review! It will be easy to feel if you are performing them correctly or not, because if done incorrectly, you won’t feel the burn in the rhomboids and lats. Instead, you would feel it in the upper traps and biceps.
Movements to include in your first phase would be the following:
*Active Bar Hang – to develop grip and active shoulder strength
*Lat Pull-down – with tempo to emphasise pause and eccentric
*Cable Row – tempo to emphasise pause and eccentric
*RNT DB Banded Row – band to help develop natural arc and to assist with lat activation
*Inverted Bar or Ring Row – help to incorporate bodyweight movements to get used to pulling your own weight under load
*Banded Straight Arm Kneeling Lat Pull – higher volume, focus on engaging lats and disengaging biceps to develop the straight arm pull
We will split this program over 2 days with at least 2 days rest between, and you can fit this almost anywhere into the week of a standard CrossFit or Fitness Program.
Day 1:
- A: Active Bar Hang: 4 x 30-60 secs; Rest 90-12 secs https://youtu.be/6tJ9ypPL3A8
- B: Lat Pull-down: 4 x 8 @31X2; Rest 90-120 secs b/w https://youtu.be/dRBG7uUGhF0
- C: Cable Row: 4 x 12 @31X1; Rest 90-120 secs https://youtu.be/qD1nTAUU-qc
Day 2:
- A: RNT DB Banded Row: 4 x 10; Rest 90 secs https://youtu.be/eX5r-868jgA
- B: Inverted Bar or Ring Row: 4 x 8 @ 3030; Rest 90-120 secs https://youtu.be/oPkC_yVHuAo
- C: Banded Straight Arm Kneeling Lat Pull: 4 x 20; Rest 60 secs https://youtu.be/Wqqx8VNi2Gw
Watch the video’s provided for each movement, to help break down each exercise and show correct technique!
To start off, we suggest sticking with this program for 4 weeks prior to moving to Stage 2, however if you are still progressing on week 4, stay on this program incrementally adding load each week until form starts to break or you are no longer getting any benefit from this structure.
Then, keep your eye’s peeled for Phase 2!
– Coach Clinton Hodgkins


